Standalone
Repman is an open-source project under the MIT license. This means that you can use it without restrictions for your own use, or in your organizations. There are two ways to install Repman on your server:
ℹ️ Before the installation, make sure to configure a domain for Repman.
Domain configuration
Due to the PHP Composer architecture, Repman requires domain configuration to work properly. You can do it in two ways:
- Change
/etc/hostson your local machine - Add a DNS record
Hosts file
Add the following lines with your IP address to your /etc/hosts file:
$IP repman.local$IP repo.repman.local
Add this line for every organization created in Repman:
$IP organization.repo.repman.local
DNS records
Add the following A records to your DNS:
A repman.localA repo.repman.localA *.repo.repman.local
Docker
Installation
First, you need to clone the repository from https://github.com/repman-io/repman
$ git clone https://github.com/repman-io/repman.git
To start all containers, run:
$ docker-compose up
Configuration
- Override with
docker-compose.override.ymlif needed. - Set your domain (
APP_HOST) in.env.docker.
.env.docker
PHP_URL- app container (php-fpm) URL with portAPP_HOST- your domainAPP_URL_SCHEME-httpsorhttpAPP_ALLOWED_PACKAGE_TYPES- list of allowed packages typesAPP_GITLAB_API_URL- self-hosted GitLab instance URLAPP_ENV- application environment -prodordevAPP_DEBUG-0- debugging disabled,1- debugging enabledAPP_SECRET- should be unique to your applicationDATABASE_URL- database URLTRUSTED_PROXIES- configuration behind a Load Balancer or a Reverse ProxyMAILER_DSN- mailer DSNMAILER_SENDER- mailer senderSENTRY_DSN- Sentry DSNOAUTH_GITHUB_CLIENT_ID- GitHub OAuth app Client IDOAUTH_GITHUB_CLIENT_SECRET- GitHub OAuth app Client SecretOAUTH_GITLAB_CLIENT_ID- GitLab OAuth app Client IDOAUTH_GITLAB_CLIENT_SECRET- GitLab OAuth app Client SecretOAUTH_BITBUCKET_CLIENT_ID- Bitbucket OAuth app Client IDOAUTH_BITBUCKET_CLIENT_SECRET- Bitbucket OAuth app Client SecretOAUTH_BUDDY_CLIENT_ID- Buddy OAuth app Client IDOAUTH_BUDDY_CLIENT_SECRET- Buddy OAuth app Client SecretGA_TRACKING- Google Analytics Tracking CodePROXY_DIST_DIR- absolute path to proxy distributions directoryPACKAGES_DIST_DIR- absolute path to packages distributions directorySECURITY_ADVISORIES_DB_DIR- absolute path to advisories database directory
SSL
If you wish to use your own certificate, put the key and the certificate in:
docker/nginx/ssl/private/server.keydocker/nginx/ssl/certs/server.crt
Otherwise, a self-signed certificate will be generated.
Upgrading
To make sure that all unnecessary cache volumes are removed and restored, it is best to update as follows:
$ docker-compose down$ git pull$ docker-compose up -d
Otherwise, make sure the "/app/var/cache" volume will be cleared between each update.
Ansible Playbooks installation
You can use two Ansible (at least version 2.8 is required) playbooks to set up and deploy Repman:
ansible/setup.ymlansible/deploy.yml
First, you need to clone the repository from https://github.com/repman-io/repman
$ git clone https://github.com/repman-io/repman.git
Then, install Ansible and create you inventory in the inventories dir, for example ansible/inventories/local:
localhost ansible_connection=local
Once created, all you need to do is run your Ansible playbook and overwrite the server_hostname variable:
ansible-playbook ansible/setup.yml -i ansible/inventories/local --extra-vars '{"server_hostname":"repman.local"}'
To update your working instance, use the deploy playbook:
ansible-playbook ansible/deploy.yml -i ansible/inventories/local --extra-vars '{"server_hostname":"repman.local"}'
CLI commands
bin/console repman:metadata:clear-cache- clear packages metadata cache (json files)bin/console repman:create:admin <email> [<password>]- create a new user with admin privilegesbin/console repman:create:user <email> [<password>]- create a new (normal) userbin/console repman:proxy:sync-releases- sync proxy releases with packagist.orgbin/console repman:security:scan-all- scan all synchronized packagesbin/console repman:security:update-db- update security advisories database, scan all packages if updatedbin/console repman:package:synchronize <packageId>- synchronize given package
OAuth
GitHub
Authorization callback URL:
https://your-domain.local
Scopes:
- registration:
user:email - repositories:
read:org,repo
GitLab
Callback URLs:
https://your-domain.local/auth/gitlab/checkhttps://your-domain.local/register/gitlab/checkhttps://your-domain.local/user/token/gitlab/check
Scopes:
- registration:
read_user - repositories:
api
Bitbucket
Callback URL:
https://your-domain.local
Scopes:
- registration:
email - repositories:
repository,webhook
Buddy
Authorization Callback URL:
https://your-domain.local
Scopes:
- registration:
USER_EMAIL
Self-hosted GitLab
To integrate with self-hosted GitLab, enter the instance url in the APP_GITLAB_API_URL environment variable:
APP_GITLAB_API_URL=https://gitlab.organization.lan
Instance configuration
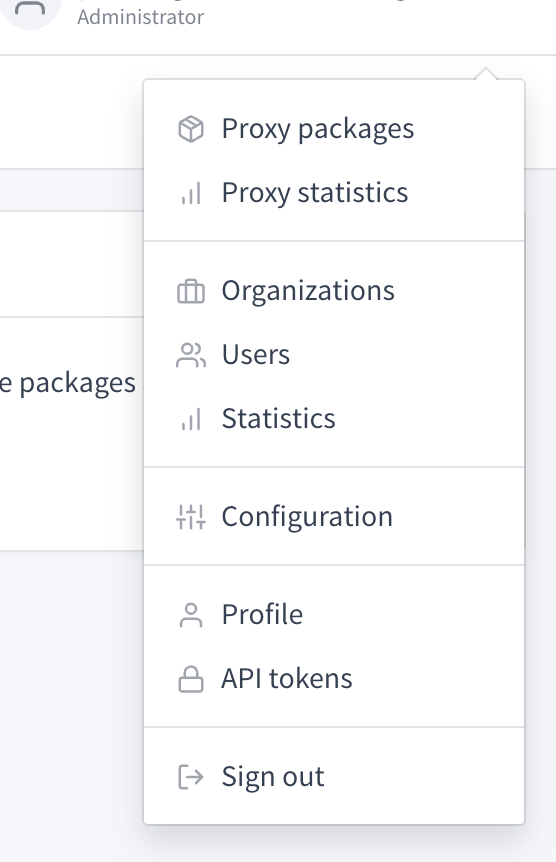
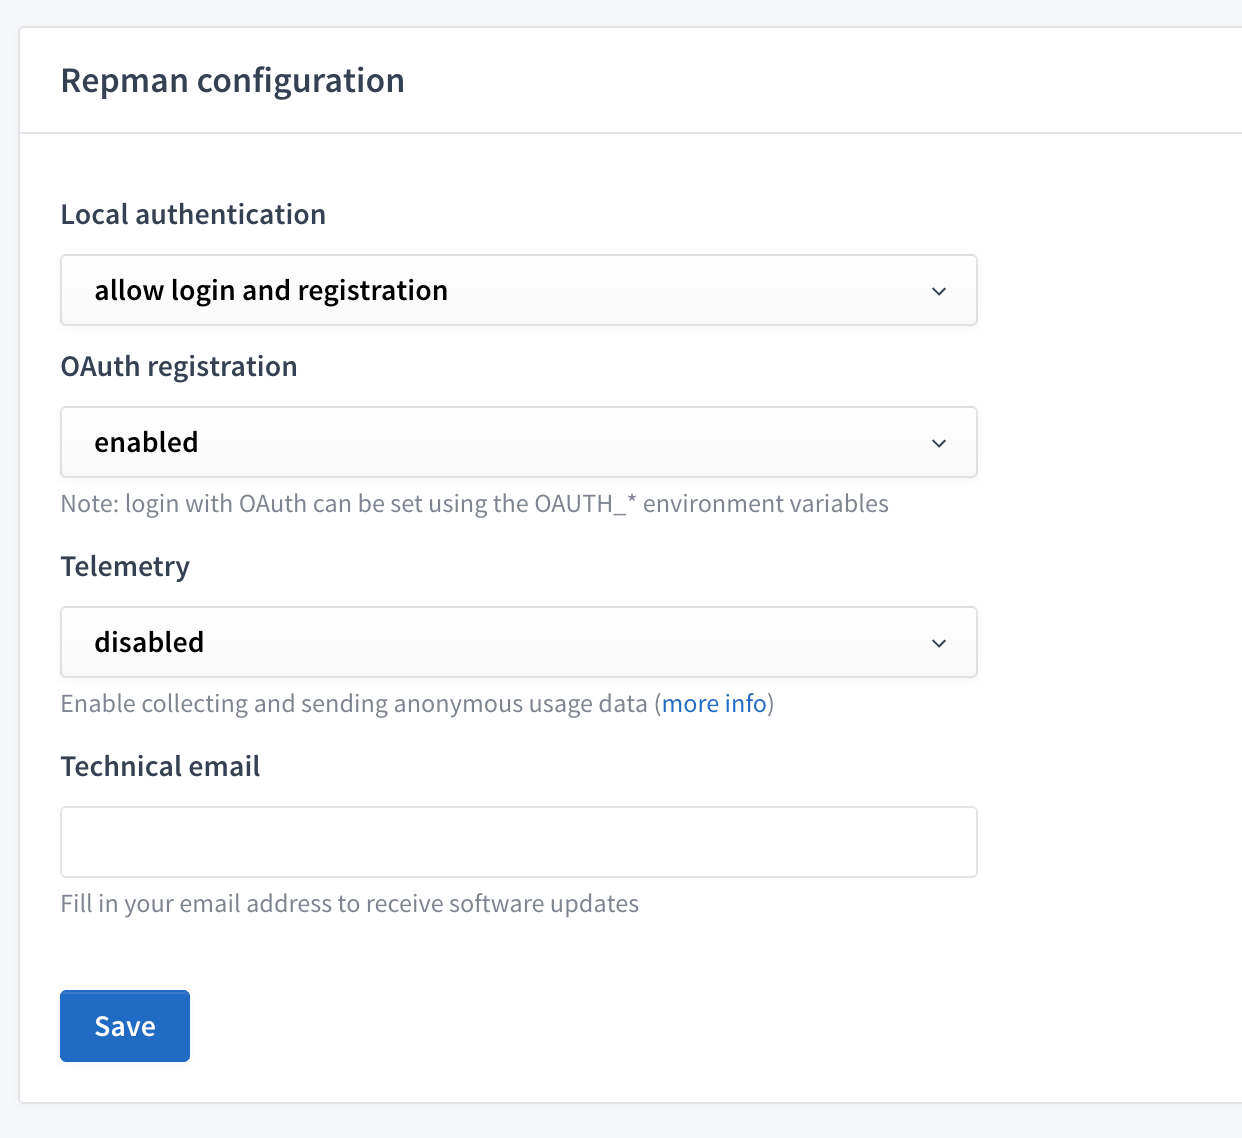
Using administrator account, under Configuration you can change following settings:
Local authentication- allow login and registration
- allow login, disable registration
- disabled
toggle
OAuth registrationtoggle
Telemetry- allow for sending anonymous usage statistic (read below what data is collected)add or remove
Technical email- allow for receiving emails with software updates
Telemetry
ℹ️ Telemetry feature works from version 0.5.0
In order to improve Repman, we have introduced a possibility to send over anonymous statistics for the standalone version. If you wish to support our efforts in developing this package, administrators can turn this option on in the instance settings.
What data is collected
- proxy and private package download count
- user count
- organization: members count and type, token count
- package: type, release dates, last scan results (only status), download count, last error (only bool status)
- instance: id, version, OS version, PHP version, configuration
Repman is an open-source project so you can check what data is collected and sent directly in the code: TelemetryEndpointTest